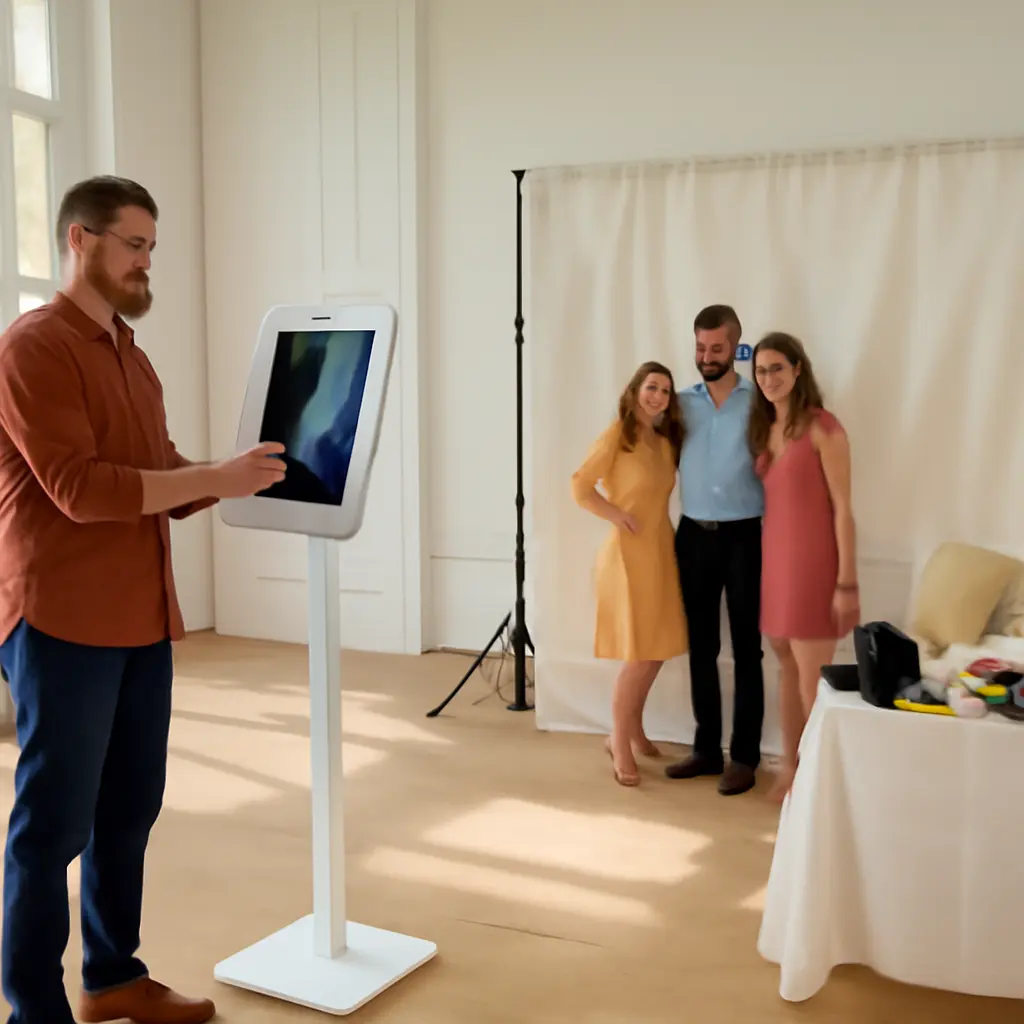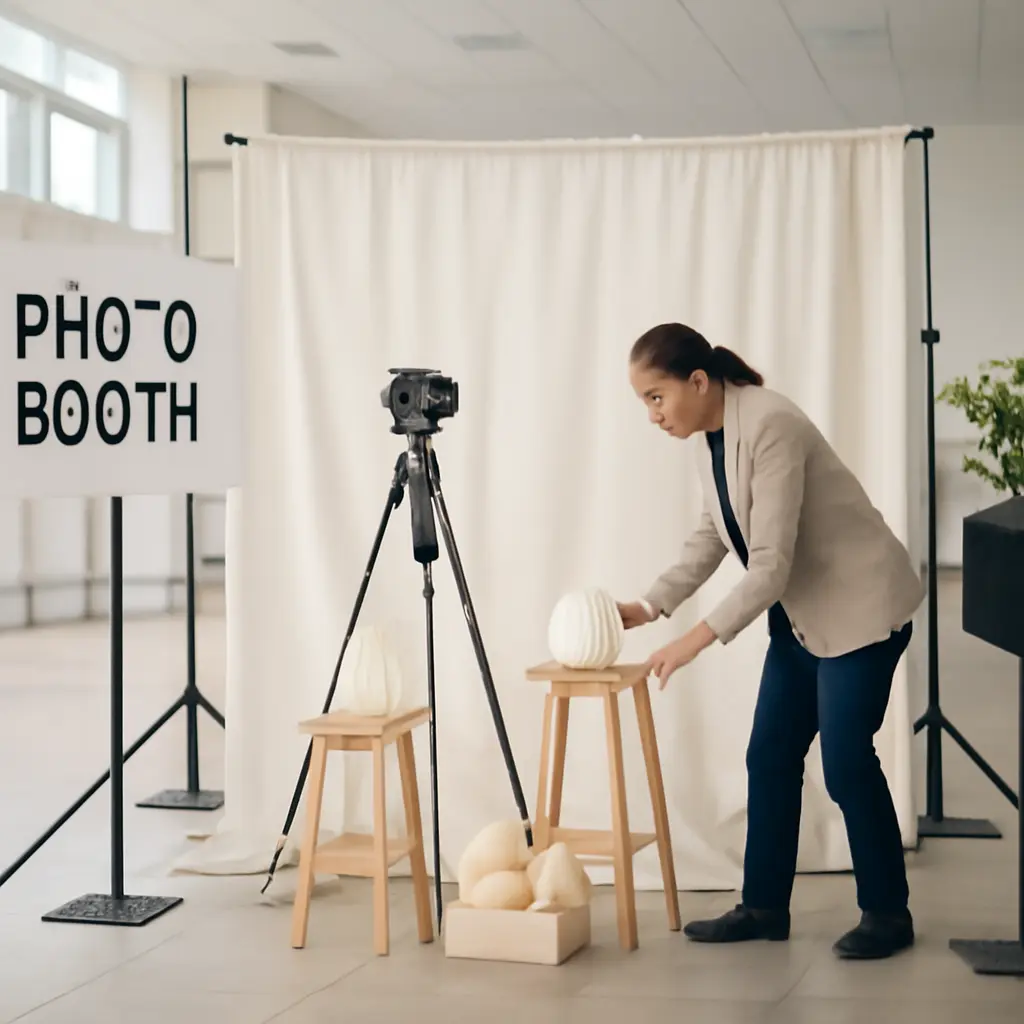
A photo booth experience is the planned combination of a camera, backdrop, lighting, props, guest interaction, and image delivery that makes it easy and enjoyable for people to take memorable photos at an event. The best setup starts with the event’s purpose and audience, then aligns the booth format, location, design, staffing, and sharing options. Research supports the value of making experiences participatory: Eventbrite’s 2024 research reports that 73% of surveyed consumers planned to attend in-person events, while event-industry guidance consistently emphasizes attendee engagement and smooth operations. Whether you are planning a wedding, company celebration, fundraiser, or brand activation, the essentials are the same: choose the right booth, design a useful guest journey, prepare for accessibility and privacy, and measure what worked.
Choose a photo booth format that fits the event
A photo booth format is the capture method and guest experience used to make event photos. There is no single format that suits every room or audience; match the setup to the event’s goals, available space, and expected traffic. The American Rental Association’s event-planning guidance and established booth vendors commonly distinguish enclosed, open-air, roaming, and specialized capture experiences.
Enclosed booths for privacy and classic keepsakes
An enclosed booth places guests inside a curtained or walled space with a camera and lighting. It works well for intimate gatherings and events where guests may prefer a little privacy, and it supports familiar printed photo strips. Its limits are capacity and access: a small enclosure can be difficult for groups, wheelchairs, or bulky costumes. Check the entrance width, interior turning space, and posted capacity before booking.
Open-air booths for groups and visibility
An open-air booth uses a camera and backdrop in an accessible shared space rather than an enclosure. It is a flexible option for large groups, branded backgrounds, and events where seeing other guests participate can encourage more people to join. Its success depends on controlling the background and nearby foot traffic. Position it so the camera does not capture private areas or create congestion.
Roaming and specialized booths for movement or spectacle
A roaming booth brings a photographer or mobile capture device to guests, while specialized formats such as GIF, video, slow-motion, or 360-degree booths add a distinctive visual effect. Roaming works well when the room is crowded or guests are spread across multiple spaces; specialized booths suit brand activations and celebrations that call for high-energy content. These options may require more staff, a larger operating area, additional lighting, or a clear queue plan. Confirm what files guests receive and whether the package includes printing, digital sharing, or both.
Design a photo booth layout and guest journey
A booth layout is the arrangement of the capture area, queue, props, lighting, and exit or sharing point. The U.S. Access Board’s accessibility standards provide useful principles for routes and maneuvering space, although exact legal requirements depend on the venue and event. A thoughtful layout makes participation clear, reduces bottlenecks, and helps guests move through the experience without disrupting the event.
Place the booth where guests can find it
Choose a visible location near guest activity, but not directly beside the stage, serving line, or entrance pinch point. Ask the venue about floor plans, power outlets, permitted rigging, and noise or lighting restrictions. Keep the route to the booth unobstructed and leave enough room for people waiting, posing, and departing. For larger events, add a sign that explains what the booth does and where photos will go.
Make participation quick and intuitive
A guest journey is the sequence from noticing the booth to receiving a photo. Use short instructions, a simple start button, and a clear indication of how many people can fit in each shot. If prints are available, show where to collect them; if digital delivery is used, explain whether guests scan a QR code, enter an email address, or receive a text. Pew Research Center reports that smartphone ownership is widespread among U.S. adults, but a digital-only workflow can still exclude guests who lack a suitable device, connectivity, or comfort with scanning. Offer prints or staff assistance when practical.
Plan for accessibility and comfort
Accessibility means designing the booth so guests with different mobility, sensory, and communication needs can participate. Provide a step-free route, avoid loose cables, keep controls reachable, and make instructions readable. Consider glare, flashing effects, loud prompts, and whether guests can take a photo without standing. Ask the venue and vendor about accessible equipment and adapt the plan to the people attending rather than treating accessibility as a last-minute add-on.
Create a cohesive backdrop, lighting, and prop plan
Photo booth styling is the coordinated use of background, light, color, props, and visual branding. A consistent design makes images feel connected to the event while keeping faces and clothing clearly visible. The American Society of Media Photographers’ lighting resources explain how direction and quality of light affect a portrait; in practice, test the setup in the actual venue because ambient light and reflective surfaces can change the result.
Select a backdrop that supports the event
A backdrop is the visual surface behind the subjects. Choose a material and pattern that complement the event palette without competing with faces, outfits, or text. For a corporate event, a restrained logo wall may be appropriate; for a wedding, a floral or fabric background can create a softer portrait style. Check the backdrop’s width, stability, fire-safety rules, and distance from the camera. Avoid reflective finishes that can produce glare or visible equipment reflections.
Use flattering, consistent lighting
Booth lighting is the controlled illumination used to expose faces evenly and consistently. A vendor may use a ring light, softbox, flash, or a combination, but the right choice depends on room conditions and desired image style. Test for shadows, skin-tone accuracy, glasses reflections, and exposure across a group. If the booth is near windows or colored stage lights, ask the operator how they will prevent changing light from producing inconsistent images.
Choose props with purpose
Props are handheld or wearable objects that prompt playful poses and give guests a reason to interact. Use a small, clean, sturdy selection connected to the event theme rather than an overcrowded table. Include options that suit different ages and styles, and avoid props that could be offensive, fragile, sharp, or difficult to sanitize. A themed sign, frame, or simple pose prompt can often create more coherent photos than a large assortment of novelty items.
Prepare staffing, technology, and event operations
Photo booth operations are the people, equipment, power, timing, and troubleshooting procedures needed to keep the experience running. The U.S. Consumer Product Safety Commission advises keeping electrical equipment and cords in safe condition; event teams should also follow venue rules and vendor instructions. A reliable booth is planned as part of the event schedule, not treated as a device that can simply be plugged in and forgotten.
Confirm vendor scope and setup timing
Before booking, document the booth type, operating hours, setup and teardown windows, print quantity or limits, attendant coverage, backup equipment, and what happens if the system fails. Ask whether the vendor needs a dedicated power circuit, internet access, or access to the venue before guests arrive. Build in time for a test capture and approve a sample image before the booth opens.
Assign an attendant and a backup plan
An attendant helps guests use the booth, manages props and queues, and responds to printer or software issues. For a staffed event, agree on who the attendant reports to and how technical problems are escalated. Keep a practical contingency plan: spare paper or ink where applicable, a backup camera or tablet if provided, clear instructions for restarting equipment, and a way to continue with digital capture if printing stops.
Schedule around the event program
Booth hours should match when guests are available rather than automatically covering the entire event. A wedding booth may be busiest after dinner, while a conference activation may work best during breaks. Coordinate opening time with speeches, meals, and room changes. If the booth is a major attraction, use signage or an emcee announcement to spread demand and avoid a long queue at one moment.
Protect guest privacy and manage photo sharing
Photo privacy is the process of explaining how images are captured, stored, shared, and deleted. The Federal Trade Commission recommends that organizations be transparent about data practices and collect only what they need. Rules vary by jurisdiction and event context, so organizers should check applicable privacy, publicity, and consent requirements, especially when photographing children or using images for marketing.
Tell guests what happens to their images
Place a concise notice near the booth explaining whether photos are printed, sent to guests, displayed on a screen, uploaded to a gallery, or used in promotional materials. Separate participation from marketing consent where appropriate; taking a booth photo should not silently authorize unrelated commercial use. If guests submit an email address or phone number, explain its purpose and retention period.
Choose sharing methods with care
Digital sharing may use a QR code, text message, email, or private online gallery. Each method has trade-offs: QR codes are quick for many smartphone users, while email delivery can require extra steps and personal information. Use secure settings, limit access to galleries, and confirm how long the vendor retains files. Avoid displaying a public gallery by default if guests have not been told that images may appear there.
Measure results and improve the next photo booth
Photo booth measurement is the review of participation, guest feedback, operational performance, and event-specific outcomes. Choose measures that reflect the booth’s purpose rather than collecting data simply because it is available. For a private celebration, the number of prints and guest comments may be enough; for a brand activation, organizers may also assess opt-in leads or approved social engagement.
Track participation and operational quality
Useful indicators include sessions completed, prints produced, average wait time, equipment downtime, and the proportion of guests who successfully received their images. Compare these figures with the event schedule and attendance estimate to understand whether the booth was well placed and appropriately staffed. Do not treat social-media posts as a complete measure of satisfaction: many guests enjoy a photo without sharing it publicly.
Use feedback to refine the experience
Ask a few focused questions, such as whether the booth was easy to find, whether guests received their images, and what they would change. Review feedback alongside notes from the attendant and venue team. A real-world example is a conference booth moved from a quiet hallway to a break area: the change may increase visibility, but the organizer should also check that the revised location does not obstruct traffic or create excessive waiting.
Conclusion: Plan the photo booth as a complete guest experience
A successful photo booth combines the right format with a clear layout, cohesive styling, dependable operations, accessible participation, and responsible image handling. Start by defining the event goal, then choose a booth type, test its lighting and workflow, and confirm staffing and privacy details with the vendor. After the event, review participation and feedback to improve future setups. Use this checklist as a planning starting point, and consult your venue, vendor, and relevant privacy guidance before confirming the final design.
Sources: Eventbrite, “2024 Social Study,” https://www.eventbrite.com/blog/event-trends/; U.S. Access Board, “Guide to the ADA Accessibility Standards,” https://www.access-board.gov/ada/guides/; Pew Research Center, “Mobile Fact Sheet,” https://www.pewresearch.org/internet/fact-sheet/mobile/; American Society of Media Photographers, “Lighting,” https://www.asmp.org/; U.S. Consumer Product Safety Commission, “Electrical Safety,” https://www.cpsc.gov/Safety-Education/Safety-Guides/Home/Electrical-Safety; Federal Trade Commission, “Protecting Personal Information: A Guide for Business,” https://www.ftc.gov/business-guidance/resources/protecting-personal-information-guide-business.